Creating new project
New Project Wizard will guide you step by step through the project creation and initial setup process. Simply follow the instructions shown on the screen:
 For more templates, scroll the gallery page up or down using the scrollbar on the right of the Wizard window.
For more images, scroll the gallery page up or down using the scrollbar on the right of the Wizard window. You can change the image later if necessary.
You can change the shadow and reflection settings later on the corresponding tabs in the main window.
Now click Finish to complete the creation of the new project and switch to the main window.
- Select the New Project... item on the File menu or click on the New Project... button on the toolbar. To create a new project using the keyboard, simply press the Ctrl+N keys on your keyboard. This will open the New Project Wizard, which will guide you through the project creation process.
- On the Templates screen, select the template you would like to use in your project by clicking on it and then click Next.
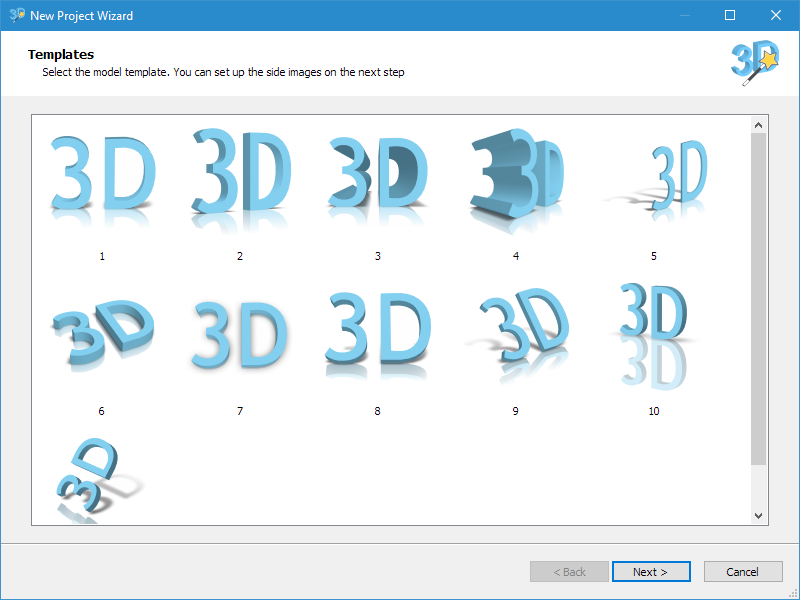
For more templates, scroll the gallery page up or down using the scrollbar on the right of the Wizard window.
- On the Front Image screen, select the image you would like to use in your project by clicking on it and then click Next.
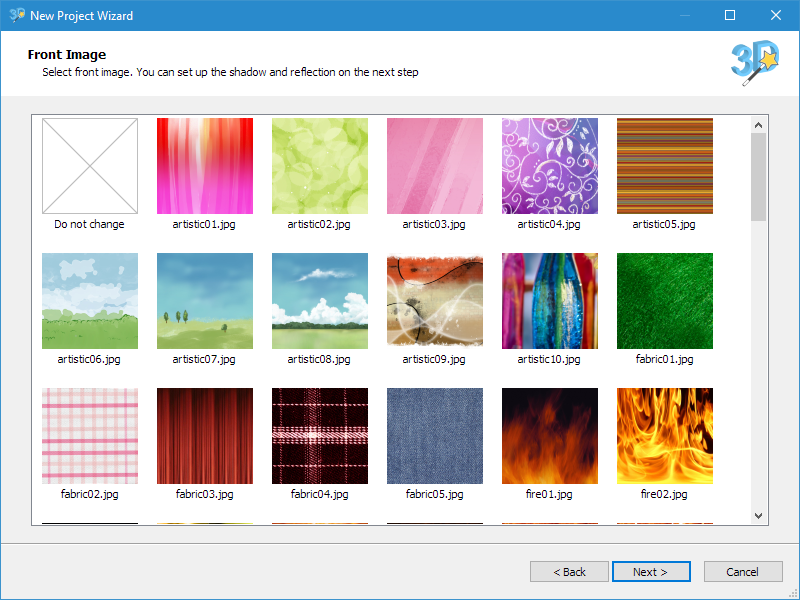
For more images, scroll the gallery page up or down using the scrollbar on the right of the Wizard window. You can change the image later if necessary.
- On the Shadow and Reflection window, select whether or not to show shadow and reflection by toggling the corresponding radio buttons.
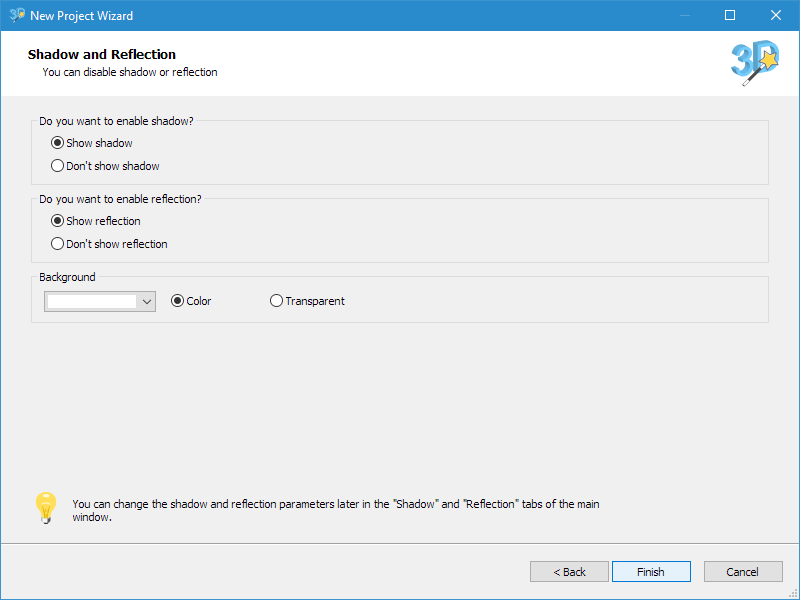
You can change the shadow and reflection settings later on the corresponding tabs in the main window.
Now click Finish to complete the creation of the new project and switch to the main window.
Related topics
3D Text Commander