Windows and dialogs
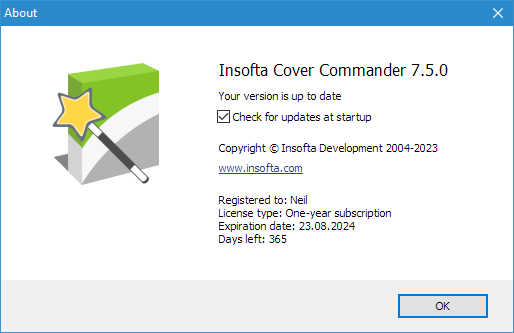
About window
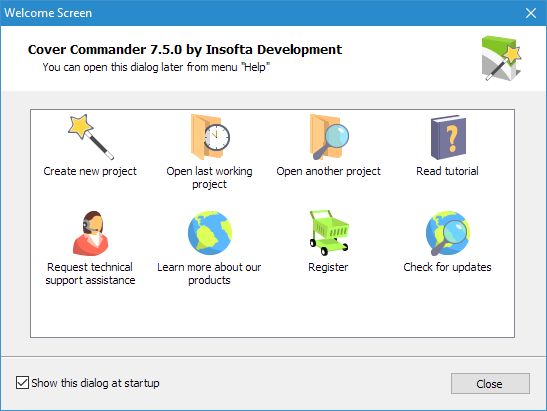
Welcome screen
Welcome Screen allows to get started with Cover Commander quickly, by simply clicking on the task to be run.
Create new project - opens the new project creation wizard.
Open last working project - opens the last project that was worked on.
Open another project - opens a project saved to disk.
Read tutorial - opens the collection of tutorials that review the most popular cover design cases and provide step-by-step instructions on resolving each case.
Request technical support assistance - opens the online technical support request form.
Learn more about our products - opens the program's official website.
Purchase the full version - opens the Insofta Cover Commander purchase page.
Show this dialog at startup - toggles showing the Welcome screen when the program starts. To disable showing the Welcome screen on startup, clear the Show this dialog at startup box at the bottom of the window and then click Close.
To close the Welcome screen, click on the Close button or hit Esc on the keyboard. You can open the Welcome screen later by selecting the Welcome Screen item on the Help menu.
Preview window
The preview window displays the cover preview in the Cover Preview frame on the right of the main window. When changes are made to project parameters, the program will draw the low-quality cover. The high-quality (anti-aliased) image will be created when you click on the Render Preview button or automatically when the Auto Preview menu item is checked.
Render Preview - draws high-quality (anti-aliased) image in the Preview window when the button is clicked on.
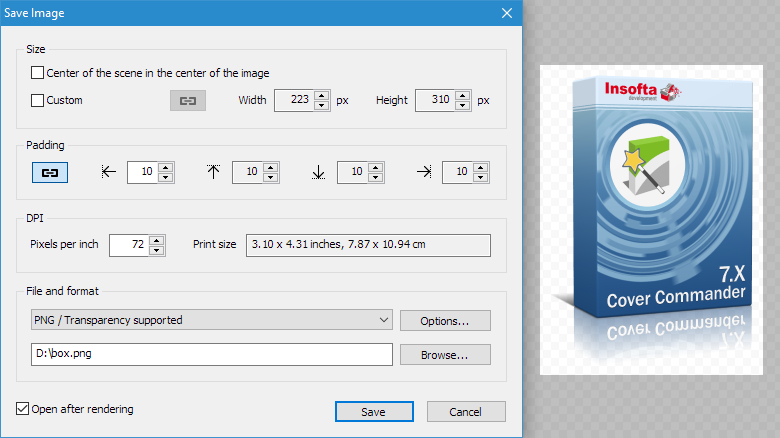
Save Image... - saves cover image to file.
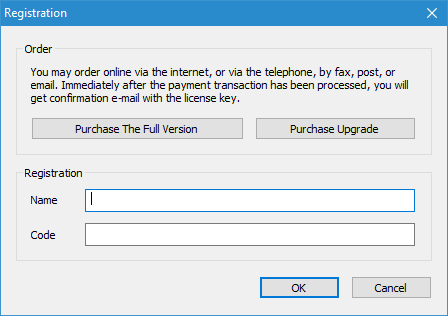
Demo Version message - opens the Registration window where you can enter the registration data. That will remove all the shareware restrictions, including the trial message.

Registration
Purchase the Full Version - opens the Insofta Cover Commander purchase page.
Name - registration name you entered on the purchase page.
Code - registration code we e-mailed to you upon registration.
Save image
Size
The group of settings that are in charge of the image size:
- Custom - sets custom image size.
- Keep proportion - preserves image proportion for the custom size.
- Width - image width, in pixels.
- Height - image height, in pixels.
- Pixels per inch - DPI value for PNG and JPG images.
Padding
- Left - left padding, in pixels.
- Right - right padding, in pixels.
- Top - top padding, in pixels.
- Bottom - bottom padding, in pixels.
File and format
- File Name - click on the edit box and enter the target file name.
- Browse... - opens the Set Image File Name window where you can locate the target folder and enter the file name.
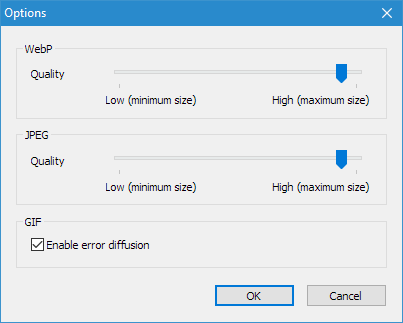
- PNG, WebP, JPEG, GIF, BMP - set the image file format. Click on the corresponding radio box to select the image format.
Save - saves image file to disk.
Cancel - cancels the save image operation.
 If the target image file already
exists, the program will ask whether you want to overwrite it. To
preserve the existing file, click No and then save the image under
a different name.
If the target image file already
exists, the program will ask whether you want to overwrite it. To
preserve the existing file, click No and then save the image under
a different name.
Save As
Saves (see Save Project As..., Save Image) file (project or image) to disk.
Folder - folder where the target file is to be saved. Click on the down arrow by the folder field and then select the target folder on the list that appears. You can also use the Outlook toolbar on the left of the window to quickly navigate to the most common folders on your computer.
File name - target file (project, image) name.
File type - target file type (project, image).
Save - saves the file to disk.
Cancel - cancels the save operation.
Open
Opens (see Design tab, Open Project...) file (project or image) from disk.
Folder - folder with the file to be opened. Click on the down arrow by the folder field and then select the source folder on the list that appears. You can also use the Outlook toolbar on the left of the window to quickly navigate to the most common folders on your computer.
File name - source file (project, image) name.
File type - source file type (project, image).
Open - opens the file from disk.
Cancel - cancels the open operation.
Related topics
Cover Commander